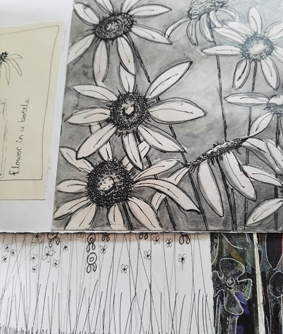
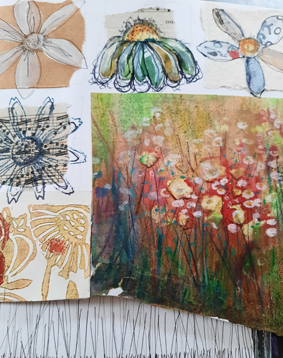
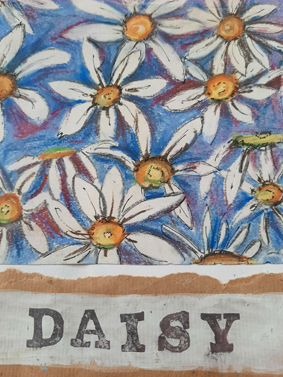
During the Covid-19 lockdown I have spent a lot of time in my studio developing a sketchbook based on flowers. I particularly love daisies: I have lovely memories of making daisy chains with my late mum as a child and singing ‘Daisy, Daisy, give me your answer do’ on car journeys with my younger sister. Daisies are such a beautiful sight in the hedgerow and a really happy flower. I decided to make a panel based on a pencil drawing in my sketchbook of a group of long-stemmed daisies.
Instructions
Base fabric
The fabric needs to have a little bit of weight, but be soft enough to easily get a needle in and out – this will make it lovely to stitch later. I used a piece of vintage linen cut to 19 x 19in (48cm square). The fabric needs to be larger than the required size to allow for shrinkage that will happen due to intense stitching.
Top layer
This is made up of lots of small pieces of fabric, a bit like crazy patchwork. I used fabrics from the scrap bag! Fabrics include: linen, silk, cotton and wool; plain fabrics and prints; woven and textured and smooth. All fabrics were recycled and re-worn. It takes a little while to move the fabrics around until you have a balanced arrangement of colour and texture. Place the fabrics down so they are slightly overlapping, then carefully tack all the fabrics down onto the base fabric. It is worth taking your time at this stage to avoid any movement of fabric in the next stage. *Tip – If you have an embellisher machine, this would be a good point to embellish the surface. This will embed all the little scraps of fabric onto the surface. It also creates a slightly textured surface. Examples of building the top layer of fabrics and the embellisher are found in my book Expressive Stitches on pages 75–91.
Daisy flowers
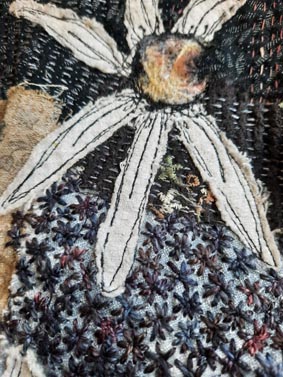
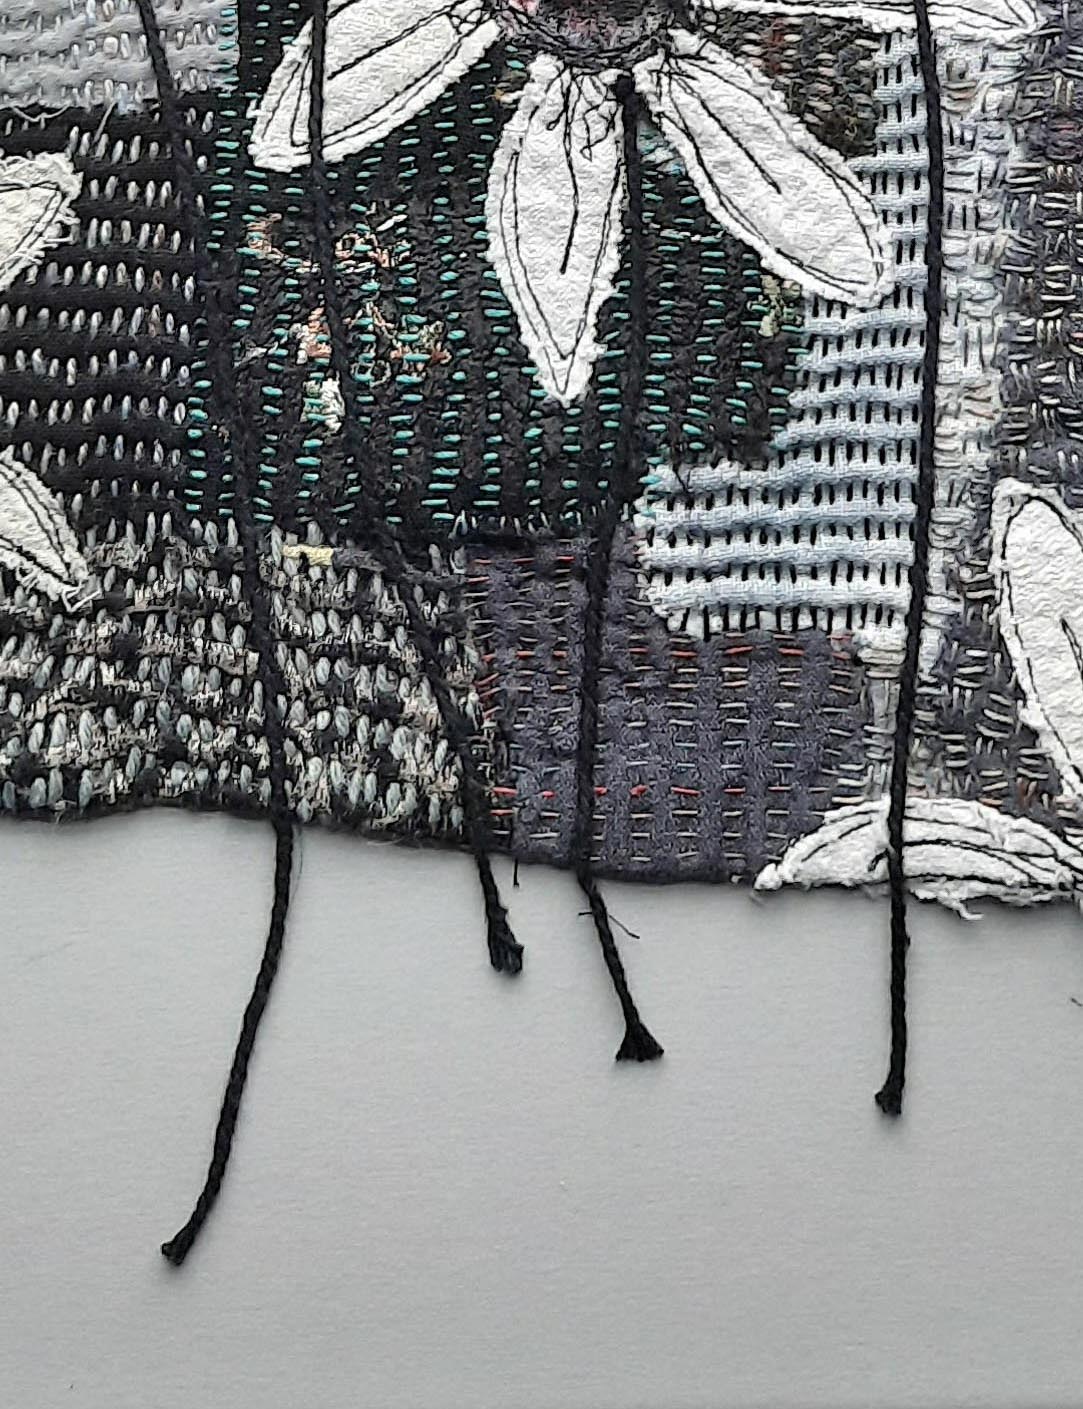
The petals are cut from white cotton. The flower centres are cut from a sort of synthetic floral velvet. Each petal was cut out and laid onto the top cloth and held down using free motion machine embroidery and black thread. This technique not only holds the petals in place but also gives the impression of a pen drawing. Apply as many flowers as you want to the surface – either lots of smaller flowers or perhaps just three large flowers – that is for you to decide in order that the cloth becomes your own design.
Embroidery threads
Use a range of threads: some stranded, twisted, wools, silks. You can use thick or thin, shiny or dull. I like to get a container, usually a nice basket or box and fill it with an assortment of threads, scissors and needles. Now I am all ready to stitch – bliss!
Hand embroidery
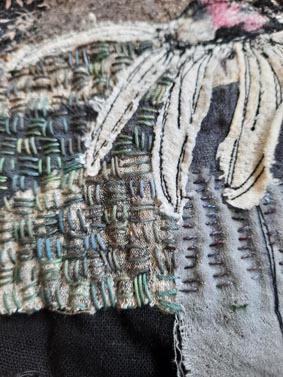
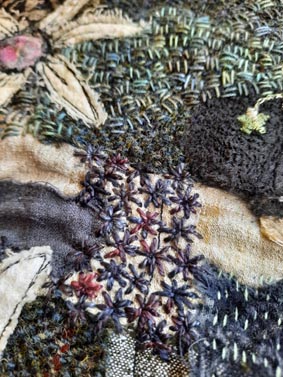
I take an expressive approach to the hand embroidery. I like to use a simple straight stitch in a variety of ways, such as running stitch, cross hatching using three small stitches in groups stitching in opposite directions to each group, flower motifs where each small stitch is worked into the same centre hole, seeding, detached chain stitch and many more. Refer to Expressive Stitches page 54 for straight stitches. Selecting only two or three stitches is best. It could be worked in just one stitch: running stitch. Hand embroidery is going to cover the whole surface of the cloth, examples can be found in Expressive Stitches in the sections ‘Memory cloths’ and ‘Stitched landscapes’.
This type of stitching creates a lovely ripple and texture to the surface of the cloth. Inspiration comes from Kantha and Boro repair stitching. It is also a ‘slow stitch’ technique. Slow stitching is very relaxing and good for relieving stress or anxiety. It is excellent for your mental health to be able to sit quietly and fully connect with your stitching.
Flower stems
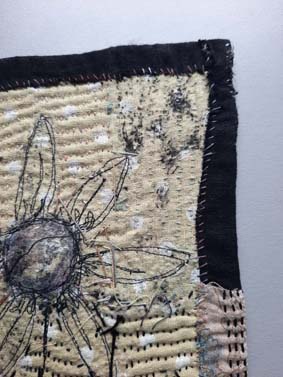
I used a thin black cord. It was couched in place to define the flower stems. I let it hang from the edge of the cloth in order to give the stems a bit more length.
Finishing off
Trim the edge of the work all the way around, leaving enough fabric to turn a single hem. Hand stitch in place. Press. Instructions for hemming can be found in Expressive Stitches.
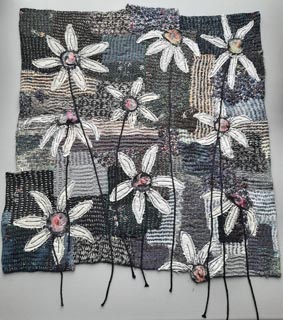
Title: Daisy Cloth
Size: 17 x 17in square (43 x 43cm square)
Colour: Monochromatic scheme