Mending is magical. Really. I’ve been mending for over three decades, and I’m still convinced there’s an element of magic involved.
Every time I mend something, even I am surprised by the final result. And every time I mend in public and share my mends on social media, I know others feel the same.
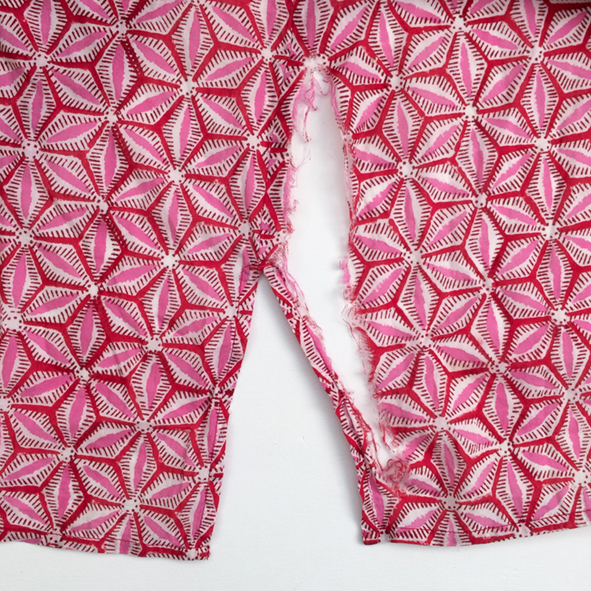
I love how mending merges problem-solving with creativity and style. Visible mending scratches my artistic itch but with two extra benefits: it helps save money and the planet. Win-win! But without a ‘before’ photo for comparison, there’s no magic trick – no proof of problem solved.
‘Before’ photos and progress photos are the key to showing others that mending is possible, and differentiating your mending handiwork from all other textile-based crafts.
And in the case of invisible or blended mends, a ‘before’ photo is the only proof you have to show for your hard work.
Here’s tip number 3 from the Helpful Tips section of my book Modern Mending:
“Take ‘before’ photos. This is a tip from my mom, who lives an ocean away and loves to see ‘before’ photos of items I’ve mended. A good before-and-after reveal is always fun and once you start mending, the opportunity for a ‘before’ photo is lost. Even if you don’t show the pictures to anyone, they’re good to have for your own learning so you can see how much you’ve improved.”
My mom is right (mothers usually are). We used to love watching makeover shows on TV together when I was younger, and it’s fun to gasp when you see what’s changed (so fun that TV shows can string you along for half an hour or more just to see the big reveal!). Who doesn’t love a happy ending or a clever solution to a problem?
Leta’s dress is one of 25 case studies featured in my book. Her cat ripped this dress, and I mended it with an imaginary apology flower from the cat, with the stem covering the rip (the flower is the icing on the cake, so to speak).

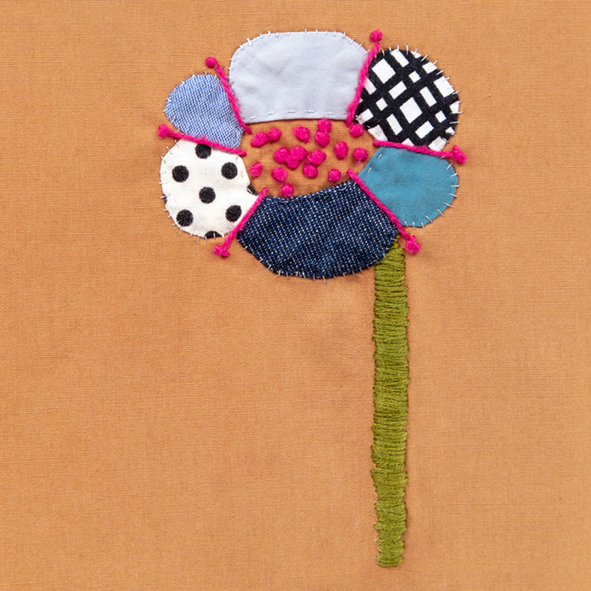
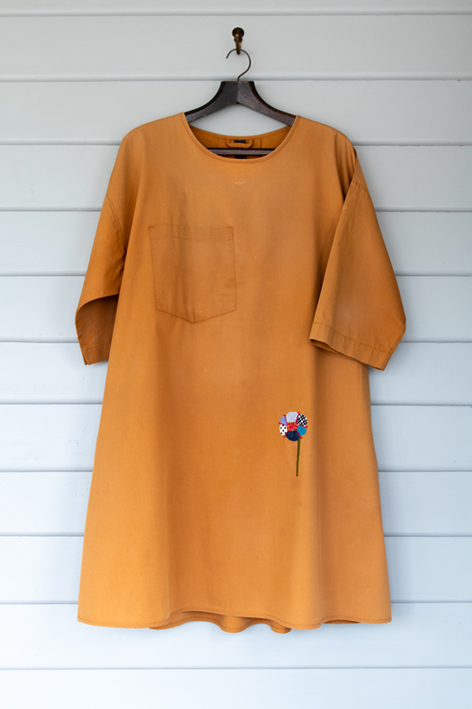
Without the ‘before’ photo for context, the flower could easily be mistaken for pure decoration.
Here’s another case study from my book: Emma’s tea towel. It had icy poles (aka ice lollies or Popsicles) all over it and one big hole when I mended it the first time. I chose to make the hole into a feature.

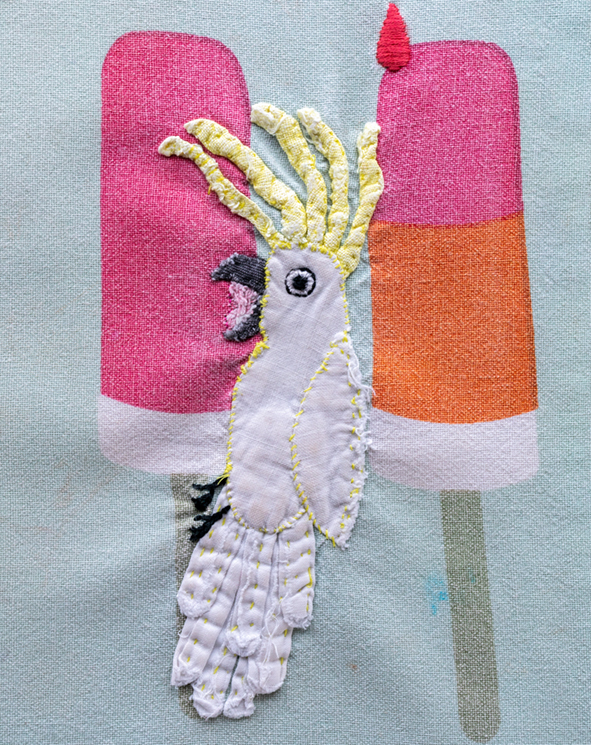
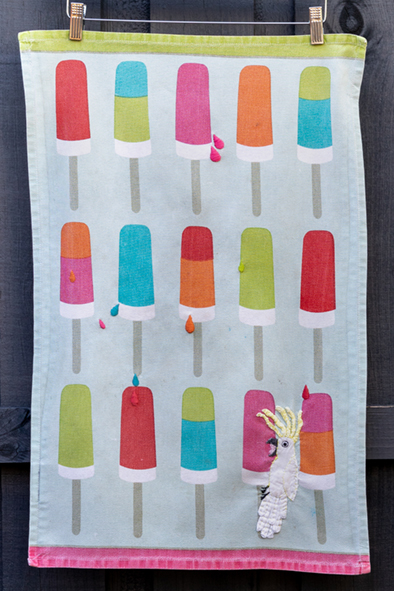
Many people have raggedy tea towels that they are convinced are too far gone and not worth mending, or that they can’t imagine could be mended. But when they see this tea towel’s ‘before’ photo, it makes them wonder whether their holey tea towel is worth mending, too. (Another tip from my book: tea towels make the best test subjects when you’re learning to mend!)
Large Marge is an extreme example. My most famous mend to date, this shirt (which I named Large Marge after a movie character) was nearly more holes than shirt. I posted the ‘before’ photos on Instagram before I began mending, and many, many people tried to talk me out of it, saying this commission was too big a job – that Marge should be made into rags instead.

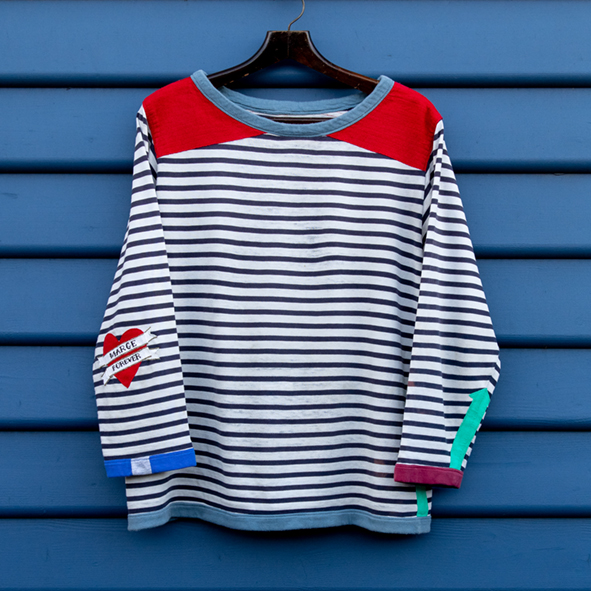
Now Marge has four pages in my book (with lessons learned) and inspires people from all over the world. She’s the poster girl for possibility and has changed even my views on what is mendable. A challenge? Yes. But worth it? Also yes. And the ‘before’ photos of Marge are everything – otherwise you might think the owner bought the shirt this way.
Sometimes I get grumpy about having to take ‘before’ photos, because I often get my mending mojo after dinner when it’s dark and the lighting in my home is rather horrible, and if I haven’t yet taken a ‘before’ photo I know I shouldn’t start mending. I’m a professional mender so the rules are different for me; I know my work won’t make as much of an impact and inspire you if I don’t take ‘before’ photos, so I make a point to do it.
You are not me, though, and don’t have to get out all your camera gear or wait for daylight to get started. Before I knew I’d be making a book, I took ‘before’ photos and progress shots on my phone. You can get quite a good result using a smartphone camera with decent lighting.
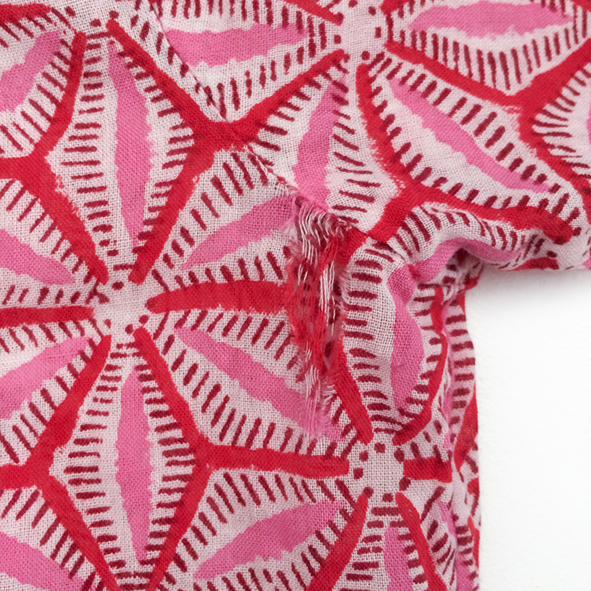
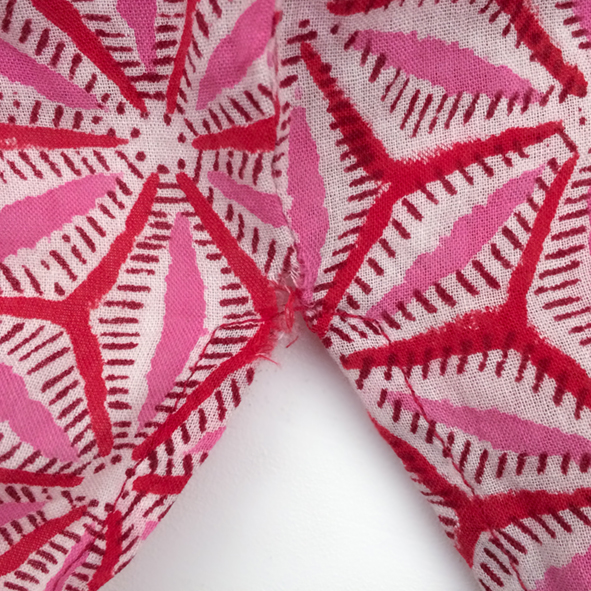
These photos were taken on my bedroom window seat (white painted wood) using only daylight coming through the window.
The most helpful ‘before’ photos:
-
are in focus
-
are well-lit (find your brightest light source)
-
have a plain, distraction-free background so the garment is the star
-
have some context so you can tell what the item is (e.g. a shirt) and where the damage is (on a seam or near a pocket)
If I haven’t convinced you already, there are two more big benefits to taking ‘before’ photos:
-
If you lack mending motivation or inspiration, a ‘before’ photo is a good starting point. It’s often harder to begin a project than it is to continue once you’ve started.
-
If you’re not sure how to mend something, a clear ‘before’ photo can help other menders help you diagnose the problem. If you can’t find what you need to know within Modern Mending’s 272 pages, my Facebook group Modern Mending Club is a great place to post photos and ask for help.
A note about showing off your amazing wizard skills: everyone will want you to mend their clothes. If you don’t want mending clients, keep your photos to yourself or set your boundaries early on (e.g. “My mending pile is big enough so I only mend my own clothes, but I know this great book you can read to learn how to mend your own…”. See the ‘Mending for others & valuing your time’ section of Modern Mending for more tips!
P.S. For more photography tips, watch this behind-the-scenes talk on how I made the book.
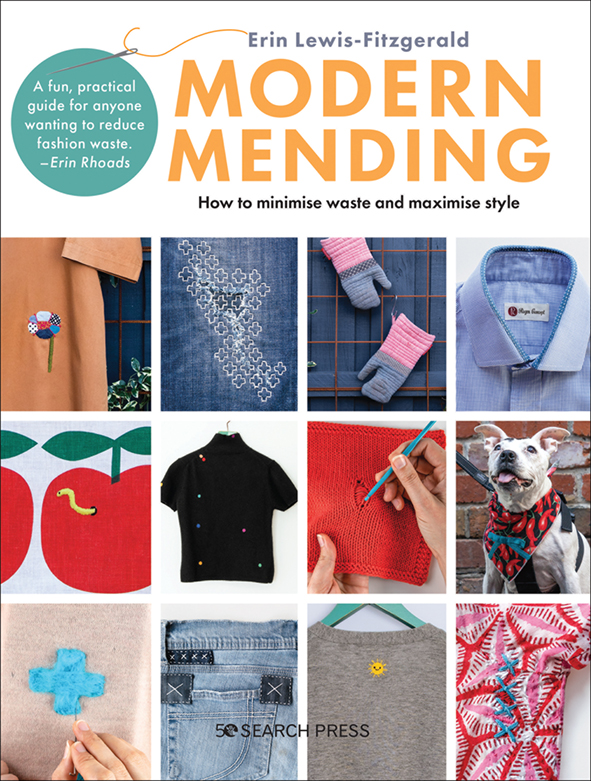
Modern Mending is available from Search Press, RRP £14.99